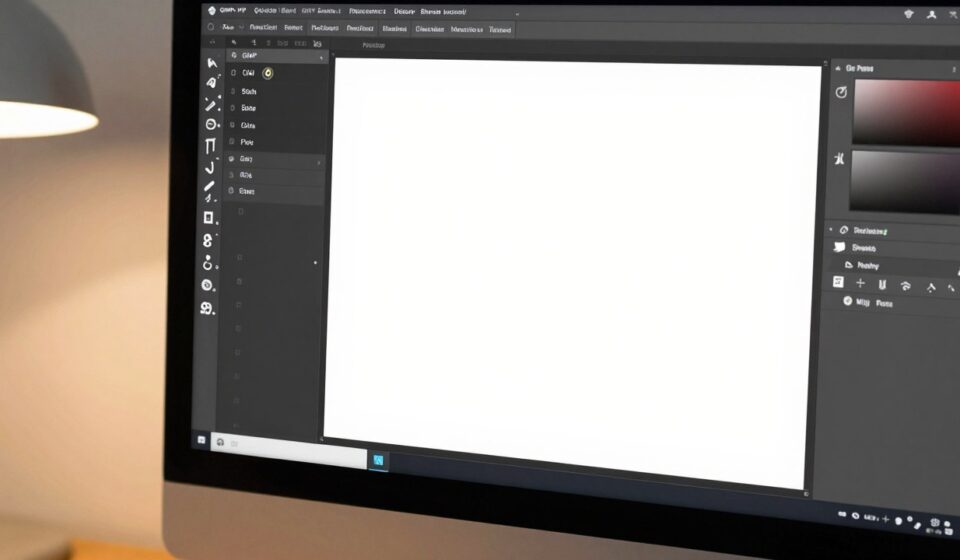
PhotoGIMP: How I Turned GIMP into a Free Photoshop Clone
PhotoGIMP: How I Turned GIMP into a Free Photoshop Clone
The Photoshop subscription fee hits differently when you only need it a few times a year. You are not running a design studio. You just need to crop a cover image, remove a background, resize something for social media, tweak a poster. Paying hundreds of dollars annually for that feels wrong.
I tried switching to GIMP directly. The raw power was there. The interface was not. My muscle memory from years of Photoshop shortcuts did not transfer. The tools were in the wrong order, the panels were arranged differently, and every session I had to fight the layout instead of doing the work.
PhotoGIMP is what fixed that for me.
What PhotoGIMP actually is
PhotoGIMP is not a new app. It is a configuration patch for GIMP 3.0 or newer. You install GIMP, then apply PhotoGIMP on top. It replaces GIMP is default configuration files with ones that match Photoshop is layout, shortcuts, tool order, and panel positions. You still get GIMP. It just feels familiar the moment you open it.
The project lives on GitHub at Diolinux/PhotoGIMP. It is GPL-3.0, completely free, and supports Windows, macOS, and Linux. The repository has over 14,000 stars, which tells you this is a well-worn path for a lot of people.
What it actually changes
PhotoGIMP does not modify the GIMP binary. It touches only configuration files. Specifically, it replaces or adds these:
shortcutsrc: Remaps keyboard shortcuts to match Photoshop
toolrc: Reorders tools and adjusts tool settings
sessionrc: Adjusts window and panel layout
dockrc: Configures docks and panels
gimprc: Changes canvas, grid, and general preferences
contextrc: Sets default tools and color state
splashes/: Replaces the startup splash screen
theme.css: Applies interface theme adjustments
templaterc: Adds preset canvas templates
On Linux, it also adds a .desktop launcher and application icon so PhotoGIMP shows up in your system menu with its own name and icon instead of launching as GIMP.
Who this is actually for
PhotoGIMP is worth trying if you fall into one of these groups.
You used to pay for Photoshop but only need it for light work.微信公众号封面、电商图、海报、小红书配图、PPT 配图. None of that requires the full Adobe ecosystem. You just need something that opens fast, does the job, and does not bill you monthly.
You prefer open source and want your tools on your own machine. GIMP is free, open, and cross-platform. PhotoGIMP is too. No Adobe account, no cloud login, files stay on your computer.
You work somewhere where not everyone is a designer. If content, product, or operations people need to make small edits regularly, PhotoGIMP gives them a Photoshop-like interface without a software budget conversation.
If you are a professional running heavy PSD workflows with advanced layer compatibility, Adobe plugins, Camera Raw, team collaboration, or print-grade color management, this is not your solution. PhotoGIMP is for light and medium work.
Two things to do before you install
Do not skip these. They will save you a support email.
First, install GIMP 3.0 or newer. PhotoGIMP 3 is built for GIMP 3.0 plus. GIMP 2.x uses a different configuration format. If you are on 2.10, upgrade first.
Download GIMP from gimp.org/downloads. On Linux, you can also install via Flathub: flathub.org/apps/org.gimp.GIMP.
Second, and this is the step most people skip: open GIMP once and then close it. GIMP generates its configuration directory the first time it runs. PhotoGIMP needs that directory to already exist so it knows where to put the files. The order matters:
Install GIMP, open it once, close it, then install PhotoGIMP.
If you copy PhotoGIMP files before GIMP has created its config directory, the files go to the wrong place and nothing changes when you open GIMP.
Windows installation
Back up your current GIMP configuration first. Press Windows+R, type the following, and press Enter:
%APPDATA%\\GIMP
Press Enter. Inside you will see a 3.0 folder. Copy it to your desktop or another safe location.
Now install PhotoGIMP:
Confirm GIMP 3.0 or newer is installed and opened at least once.
Download the PhotoGIMP Windows package:
https://github.com/Diolinux/PhotoGIMP/releases/download/3.0/PhotoGIMP.zip
Extract the zip file. Inside you will find a 3.0 folder.
Press Windows+R again and type:
%APPDATA%\\GIMP
Paste the extracted 3.0 folder into this directory. If Windows asks about replacing files, say yes.
Open GIMP. If the interface now matches the PhotoGIMP layout, you are done.
If you use Chocolatey, there is a community-maintained package you can try:
choco install photogimp
Check the package page and its maintenance status before relying on it.
macOS installation
Back up first. Open Finder, press Cmd+Shift+G, and type:
~/Library/ApplicationSupport/GIMP
Copy the GIMP folder inside and store it somewhere safe.
Install PhotoGIMP:
Confirm GIMP 3.0 or newer is installed and opened at least once.
Download:
https://github.com/Diolinux/PhotoGIMP/releases/download/3.0/PhotoGIMP.zip
Extract and copy the 3.0 folder from inside the zip.
In Finder, press Cmd+Shift+G and navigate to:
~/Library/ApplicationSupport/GIMP
If there is an old 2.10 folder inside, delete it first to avoid conflicts.
Paste the 3.0 folder. If prompted about replacing or merging files, follow the prompts.
Open GIMP. You should see the PhotoGIMP layout.
Linux installation
The recommended approach is to install GIMP via Flathub first.
Back up your existing configuration:
cp -r ~/.config/GIMP/3.0 ~/GIMP-3.0-backup
Install PhotoGIMP:
Confirm GIMP 3.0 or newer is installed and opened at least once.
Download the Linux package:
https://github.com/Diolinux/PhotoGIMP/releases/download/3.0/PhotoGIMP-linux.zip
Extract the zip to your home directory. This places files in ~/.config and ~/.local, both hidden directories.
If your file manager hides dotfiles, press Ctrl+H to reveal them.
If prompted about existing files, choose to replace them.
Open GIMP.
If you did not install GIMP via Flatpak, your config directory is still at:
~/.config/GIMP/3.0
The core rules are the same: use GIMP 3.0 and launch it once before applying the patch.
How to uninstall
This is the cleanest uninstall I have seen for any customization tool. Delete the GIMP config directory, open GIMP, and it regenerates the default configuration fresh.
Linux:
rm -rf ~/.config/GIMP/3.0
To restore your backup:
cp -r ~/GIMP-3.0-backup ~/.config/GIMP/3.0
Windows: Windows+R, type %APPDATA%\\GIMP, delete the 3.0 folder, open GIMP.
macOS: Finder, Cmd+Shift+G, navigate to ~/Library/ApplicationSupport/GIMP, delete the 3.0 folder, open GIMP.
If you backed up first, put your backup folder back in place and GIMP returns to exactly how it was.
Common problems and what to do about them
Problem: Installed PhotoGIMP but nothing changed
The most common cause is the files went to the wrong location. Every operating system has a different path.
On Windows, it must be:
%APPDATA%\\GIMP
Not Program Files, not the GIMP installation directory. Only the AppData folder.
On macOS, it must be:
~/Library/ApplicationSupport/GIMP
On Linux, it must be in your home directory under both:
~/.config and ~/.local
Also confirm GIMP was closed when you copied the files. If GIMP was open, it may have overwritten your copied config with its own on exit.
Problem: GIMP throws an error when opening
Check your GIMP version first. PhotoGIMP 3 targets GIMP 3.0 or newer. If you are still on GIMP 2.x, upgrade first.
If you are on the right version, try this: delete the config directory, open GIMP so it regenerates defaults, close it, and reinstall PhotoGIMP from scratch.
Problem: Will it delete my brushes, fonts, or plugins
PhotoGIMP replaces configuration files, not resource files. Your brushes, fonts, gradients, and plugins should stay intact.
That said, back up before installing. Once GIMP has been running for a while, your config directory holds a lot of personal preference that you do not want to lose.
Problem: Can I still change the shortcuts
Yes. PhotoGIMP gives you a starting point close to Photoshop. After installation, you can still go to:
Edit, Keyboard Shortcuts
And change anything you want. PhotoGIMP is a foundation, not a prison.
What I would do on day one
If you are trying PhotoGIMP for the first time, do these three things before touching a real project.
Run through your common actions on an old image: crop, adjust color, remove a background, add text, export. Do not use something you care about.
Test the shortcuts you actually use. Move, brush, eraser, crop, undo, save, export. PhotoGIMP is worth installing mainly for these feeling right.
Check PSD compatibility with your actual workflow. GIMP can open many PSD files, but complex layers, smart objects, and advanced effects do not always transfer cleanly. If you deliver PSD files to clients, test this before you need it to work.
Is it worth installing
If you are fully inside the Adobe ecosystem, PhotoGIMP will not replace anything for you.
If you want a free, local photo editor that feels like Photoshop without the subscription fee, PhotoGIMP is worth a Saturday afternoon. The backup is fast, the install is a copy-paste, and if it does not work for you, removing it takes two minutes.
The best thing about it is the exit cost is low. Backup, copy, try. If it does not fit, delete the config directory and GIMP is back to default. Nothing is locked in.