The Most Complete Codex Setup Guide: From Zero to Production in One Afternoon
I spent three hours last week trying to get Codex running on a machine that didn’t have a ChatGPT account. Not because I wanted to make things hard on myself, but because a friend was visiting from the Chinese mainland and needed a way to use Codex without dealing with a VPN or OpenAI sign-ups. By the end of the afternoon, we had it running on DeepSeek’s API, and the setup was clean enough that I figured it was worth writing down.
This guide covers everything: installing Codex on Mac and Windows, navigating the interface, setting up a workspace that doesn’t turn into a mess after a month, and getting it to work with China-based models like DeepSeek if you don’t have a ChatGPT account. No fluff, no skipping steps. If you already know what you’re looking for, the table of contents is your friend.
Installing Codex on Mac and Windows
The official download page is chatgpt.com/codex. That’s the only place OpenAI hosts it — no third-party mirrors, no weird installers. The page has buttons for Mac and Windows, and the Mac version downloads as a standard .dmg file. You mount it, drag the app into your Applications folder, and you’re done. It took maybe two minutes.
Windows has a shortcut that’s faster if you’re comfortable with the command line. Open a terminal and run:
winget install Codex -s msstore

Winget is Microsoft’s package manager that comes pre-installed on Windows 10 and later. Think of it as a command-line app store — it handles downloading and installing without you clicking through any setup wizards. If you’ve never touched a terminal before, just download the installer from the website like you would any other program. Both paths end up with the same result.
One thing worth noting: Codex’s capabilities are tied to your ChatGPT subscription tier. Free accounts can download and use the basic version, but the more powerful Codex-specific models require a paid plan. For light everyday use, the $20/month tier is sufficient. If you’re running it as your primary coding environment for serious work, the higher tiers are worth it. You don’t need to commit to the expensive plan on day one.
The Interface: Conversations, Projects, and Threads
Once you open Codex for the first time, you’ll be asked to sign in with your ChatGPT account. If you’re using the API key or China-based model route, we’ll cover that in the next section — just sign in with whatever you have for now.
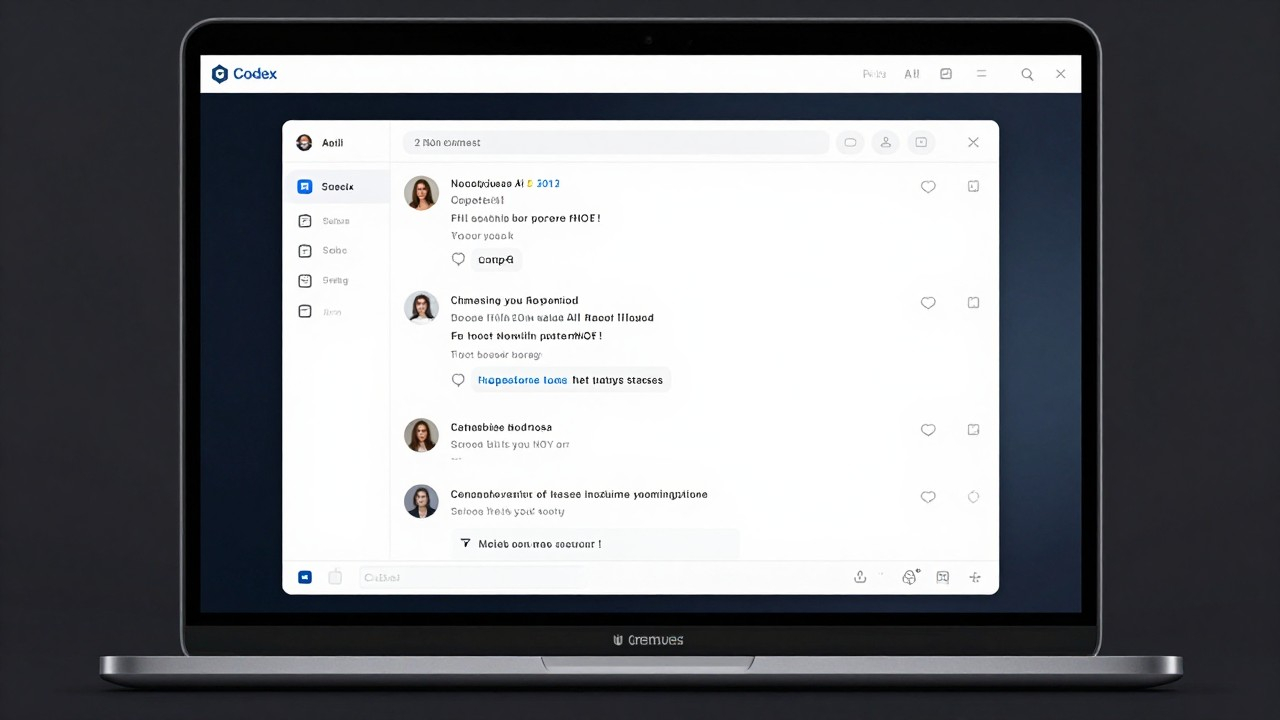
The interface is divided into four main areas. The center is where you chat with Codex — standard conversational layout, nothing surprising there. The left sidebar is where things get interesting. It has two layers: Conversations and Projects.
Conversations is for quick, throwaway tasks. You need a regex explained, a piece of code debugged, a quick estimate on something — these go here. They’re not tied to any specific folder on your computer, and they don’t need to be organized. Let them pile up and clean them out when they get annoying.
Projects is where Codex does real work. The logic is simple: each project corresponds to a folder on your local machine. You hand that folder to Codex, and everything it generates — code files, documentation, scripts — gets saved directly into that folder. It stays synchronized with your disk, which means version control tools like Git work naturally, and you never have to copy-paste output from a chat window into a file.
Within a project, you can open multiple Threads. Each thread is an independent conversation, but they all share the same folder. So if you’re building a web app, you might have one thread for the frontend, one for the backend API, and one for writing tests. The files are all in the same project directory, but each thread keeps its own chat history separate. Threads don’t interfere with each other.
This sounds obvious when I write it out, but I watched a lot of people skip this step and end up with a single two-week conversation full of conflicting context. A little upfront organization goes a long way.
To switch Codex to Chinese — or any language — open Settings from the bottom-left corner, go to General, and pick your language. It’ll download a language pack and restart. The interface switches over completely.
Running Codex Without a ChatGPT Account
This is where most people get stuck, and it’s the part I get asked about most. You have two options.
The first is using an API key from the OpenAI platform. On the sign-in screen, there’s an option to sign in with an API key instead of a ChatGPT account. If you already have an OpenAI API key, paste it here, and you’re in. For users on the Chinese mainland, this path is annoying because OpenAI requires a credit card and prepaid credit — not impossible, but a real barrier.
The better path is using a tool called CC-Switch, which lets you route Codex through China-based models like DeepSeek or Zhipu GLM. The project lives at github.com/farion1231/cc-switch. Download the installer from the releases page — .msi for Windows, the Mac equivalent for macOS. Install it like any other application.
Open CC-Switch and you’ll see tabs across the top for different AI tools: Claude, Codex, Gemini, and others. Click into the Codex tab. In the top-right corner, there’s a plus button to add a new model configuration. When it asks you to pick a provider, select deepseek from the list — or Zhipu GLM if you prefer that. Both work the same way in this context.
This setup replaces OpenAI’s servers with a China-based alternative, so Codex runs the same way it would normally, just on a different model. Your workflow doesn’t change at all.
Core Workflows That Matter
Once Codex is installed and running, the actual value comes from using it on real work. Here’s what I’ve found most useful in practice.
Code review is the first big one. Paste in a function that’s been sitting in your codebase for six months, and ask Codex to explain what it does and where the edge cases are. It’s not magic — it still gets things wrong — but it catches a surprising amount of logic that you miss when you’ve been staring at the same code for too long.
Project scaffolding is the second. Describe the project you want to build in plain English, and Codex will generate the folder structure and initial files. You then have a working skeleton you can modify rather than starting from nothing. This is particularly useful when you’re exploring a new framework or trying to set up a boilerplate quickly.
The third is targeted debugging. When you have a specific error message, paste it in along with the relevant snippet. The more context you give — what the expected behavior was, what you already tried — the better the response. Codex is good at pattern-matching error messages to likely causes, but it needs the right information to work with.
Context management matters more than most tutorials admit. Codex can read files in your project folder, but it can’t read your mind. If you want it to work on a specific file, either put it in the project folder so it can access it directly, or paste the relevant content into the conversation. The more explicit you are about what you’re working with, the less time you spend correcting misunderstandings.
Getting Better Results: What the Documentation Doesn’t Tell You
After using Codex daily for a few months, here are the things that improved my output quality.
Be specific about constraints, not just goals. “Write a function” gets you a generic function. “Write a function that handles null inputs gracefully and logs the error with a timestamp” gets you something you can ship. Codex responds to specificity the way a good junior developer does — it needs to know what good looks like.
Iterate in small steps rather than dumping a large request at once. Asking Codex to build a complete REST API in one shot gets you a plausible but shallow result. Asking it to build the data model first, then the routes, then the error handling — that’s three exchanges, but each one is deeper
than the single-shot version.
When Codex gives you something that looks right but has subtle issues, don’t regenerate — correct it. Tell it what specifically is wrong and what you’d change. The model learns from that feedback within the conversation, and the revision is usually more accurate than starting over.
For large files, specify the region you want to edit rather than asking for the whole file to be rewritten. “In the handleSubmit function around line 45, change the error catch to retry twice before failing” gets you a precise edit. “Rewrite this function” gets you something that might not match the style and conventions of the surrounding code.
Wrapping Up
Codex is one of the more capable AI coding agents available in 2026, and the ecosystem around it is maturing quickly. The OpenAI-backed version offers deep integration with the broader ChatGPT platform, while the China-based model alternatives through CC-Switch make it accessible to users who can’t or don’t want to deal with OpenAI accounts.
The setup process takes less than an hour even for someone who’s never used an AI coding tool before. The real skill is learning how to phrase requests, manage context, and iterate on outputs rather than expecting perfect results on the first try. Like any tool in your workflow, it gets better the more you understand how it thinks.
Start with one small project. Set up the workspace properly from the beginning. Use threads to keep different tasks separate. And give it a few weeks before deciding whether it’s replacing your current setup — the initial impression and the steady-state experience can be quite different.