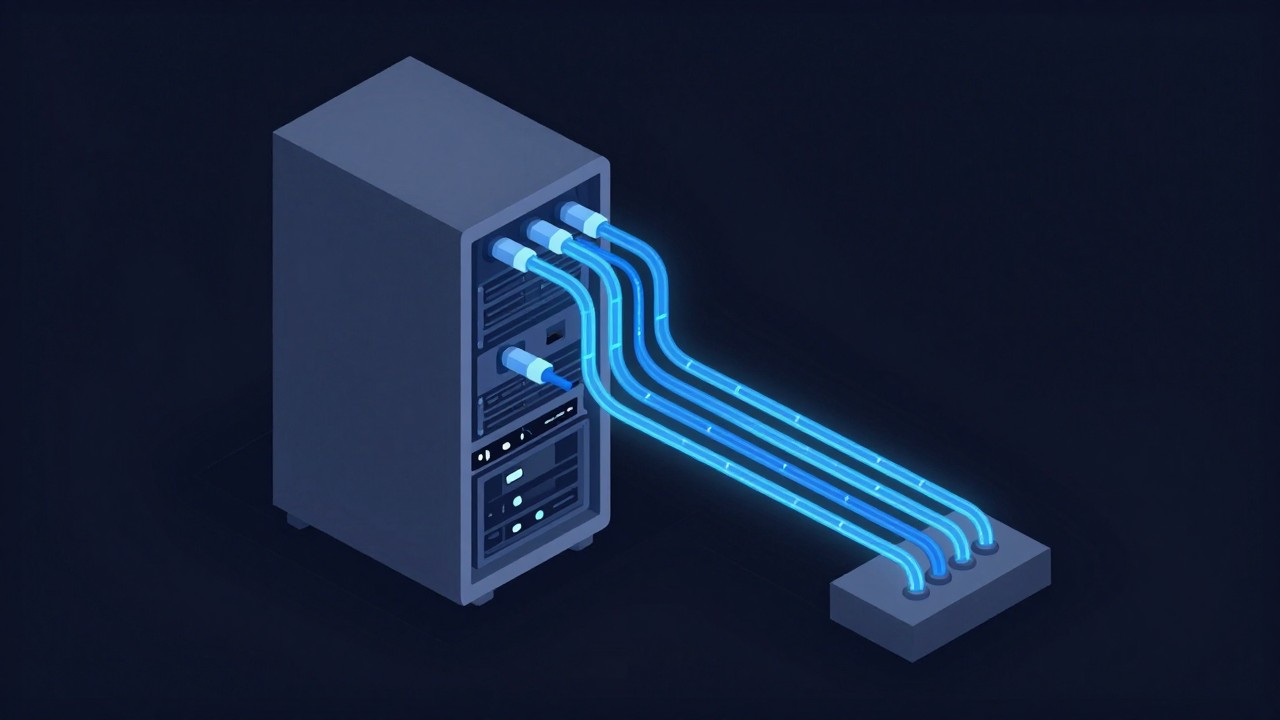
How to Deploy Headroom on Your NAS: A Practical Guide
If you run AI agents for any serious amount of time, you know the bill adds up fast. Context gets longer with every session. Tool outputs, file reads, RAG chunks, conversation history — it all piles into the context window, and the model does not work for free. There are people who just accept this as the cost of doing business. There are also people who look for the seam in the system.
Headroom is one of those seams. It sits between your agent and the LLM and compresses what gets sent downstream. Not by trimming words randomly — it is smarter than that. It reduces token volume before the model ever sees the content, and it does it without changing the output quality.
That is the idea, at least. I wanted to know if it actually works in a real setup, and what it takes to get it running.
What Headroom Actually Does
Headroom is a context compression layer built for AI agents. It intercepts tool outputs, logs, file reads, RAG results, and conversation history before they hit the LLM, and it compresses them on the way through.
There are two mechanisms doing the work. The first is verbosity steering — Headroom appends a short instruction to the system prompt telling the model to stay concise and not repeat context from previous turns. Because this is in the system prompt rather than the user prompt, your prompt cache still hits. The second mechanism is effort routing — when a turn is just the model continuing after tool results, Headroom tells it to dial back thinking intensity. New questions and errors still get full effort. Only the continuation turns get the lighter treatment.
The official numbers are striking. Their README shows up to 92% token savings in code search scenarios, with output quality held constant. Real-world usage tends to be less dramatic, but the direction is consistent.
Deploying It on a NAS
The setup that makes the most sense for this is a NAS sitting on your home network, running Headroom as a container, and your agents routing through it. A NAS works well because these tools need to run continuously, and a NAS is designed to be on all the time. It is also already positioned as a home server for your files, your media, your knowledge base — adding an AI routing layer to that is a natural extension.
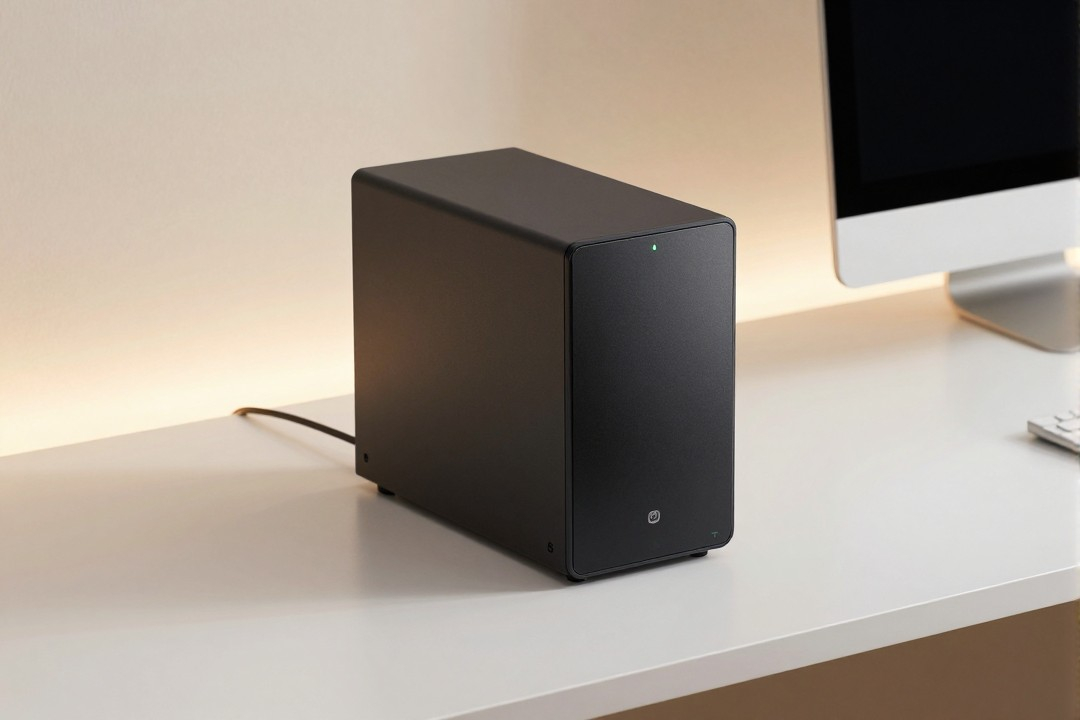
The flow looks like this: your agent sends requests to Headroom, Headroom compresses and forwards to your LLM gateway, and results come back through the same chain. Everything stays within your network.
For the networking piece, do not expose this to the public internet. Token usage is sensitive data, and you do not want it traversing raw HTTP. The better approach is to set up a private virtual network between your devices. Tools like Tailscale or ZeroTier create an encrypted tunnel between your machines that acts like they are on the same LAN, even when they are not. Free tiers usually cover a handful of devices, which is plenty for a personal setup.
Once your virtual network is up, you point your agent at the NAS IP on that private network, and everything else happens locally. No open ports, no public exposure.
The Four Integration Methods
Headroom offers four ways to connect. Two are for when the agent and Headroom live on the same machine: a direct wrapper around the agent, and an MCP server. The other two work over the network: a proxy mode and a gateway mode. The network modes are what you want for a NAS deployment because they let any agent on your network route through Headroom regardless of where it is running.
Proxy mode is the most straightforward for this use case. You point your agent at the Headroom proxy address, Headroom compresses and forwards to your LLM, and the agent never knows the difference.
Cross-Agent Memory: A Bonus Feature Worth Knowing
One thing that is easy to overlook: Headroom has a shared memory store that any agent routing through the same instance can read from and write to. If one agent learns something about a project, another agent on the same Headroom instance can access that fact. It tracks which agent wrote what and handles deduplication automatically.

If you are working with a team, this becomes more interesting — you can share a Headroom instance across team members on the same private network, and everyone benefits from the same compressed context plus the shared memory layer. Projects that require multiple agents or multiple people collaborating on agent workflows get this essentially for free.
What the Savings Actually Look Like
I have seen the 92% figure cited a lot. That comes from a specific benchmark scenario, not a general use case. In a real development workflow — file reads, test runs, code searches, iterative debugging — the savings are more modest. Realistically, you are looking at somewhere in the 6–10% range on token volume in typical agent tasks. Cache hit rate tends to improve as well, since verbosity steering keeps each turn leaner.
Is that worth the setup effort? That depends on how much you are spending. If you are running agents daily and watching your API bill climb month over month, even a 6% reduction compounds. For users on plans with tight token limits, that can mean the difference between rationing usage and running freely.
The Long Run
Headroom is not magic. It is a compression tool, and compression has diminishing returns. The real value is in the habits it forces: keeping context lean, thinking about what actually needs to be in the loop for each task. Once you see how much of your context window was filler, you start building leaner prompts from the start.
For anyone running multiple agents, or running agents for extended periods, a NAS-based deployment with private networking is probably the cleanest way to do it. Set it once, route everything through it, and let the compression run in the background. The setup takes an afternoon. The savings show up over time.